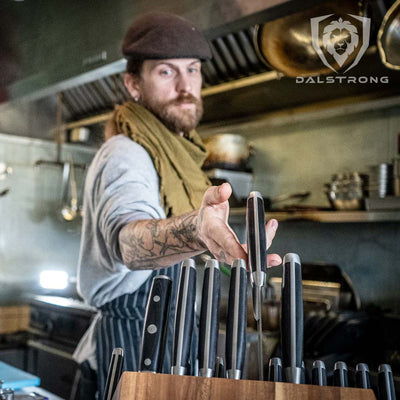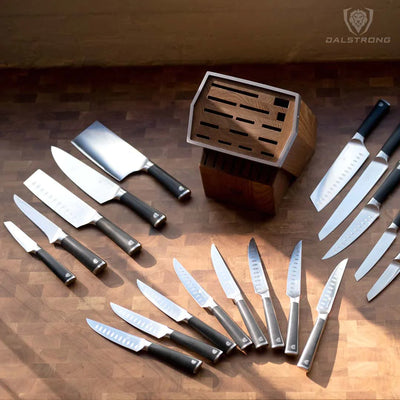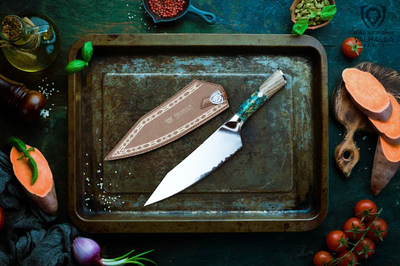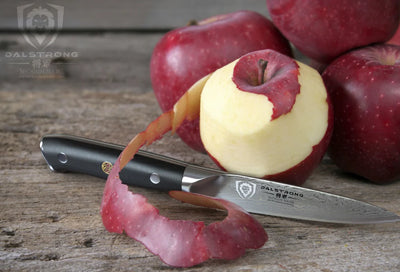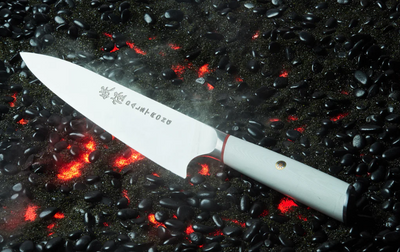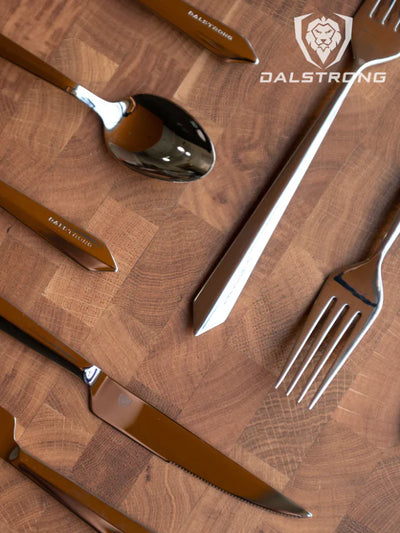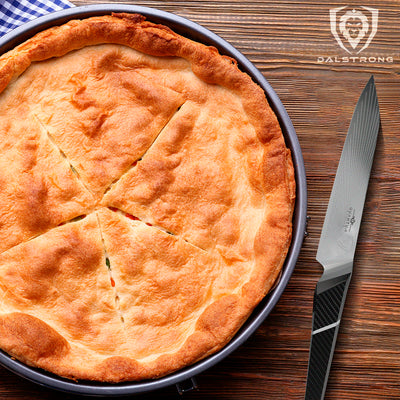

Quick Overview: How to Sharpen a Kitchen Knife
- Secure your sharpening stone on a flat surface and get it wet.
- Sharpen away. Grab your knife by the handle and hold the blade at a 20-degree angle against the coarse side of the stone.
- Start with the tip of the knife and work your way down to the base of the blade. Slide the blade across the stone while pulling the knife towards you, as if you're trying to slice off a super-thin piece of the stone.
- Once you've passed your knife over the coarse grit a few times, it's time to move on to the fine grit side of the stone. Repeat the same process, but this time you're honing the edge.
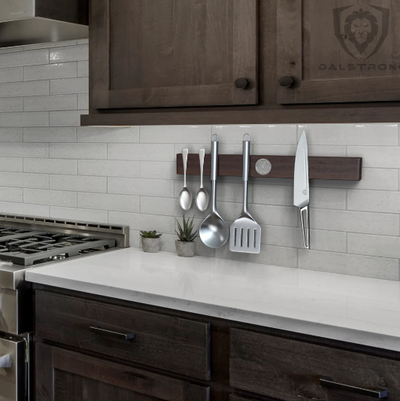
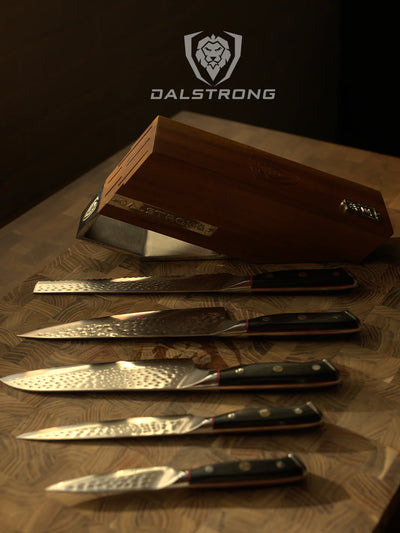
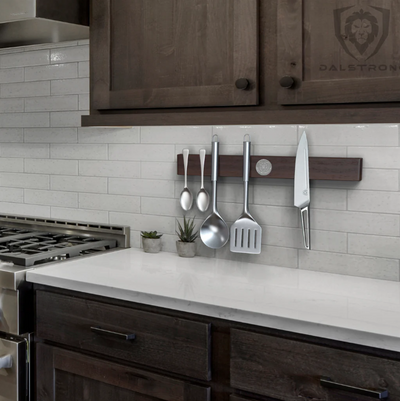
- After your blade is sharp enough to split hairs – or at least tomatoes – give it a good clean to remove any tiny metal filings. And finally, sheath that beauty back in its knife block, or hang it on a magnetic strip if you're feeling fancy.
To sharpen a kitchen knife like a pro, you'll want to start with the right tools either manual or electric sharpeners or a sharpening stone. The key is maintaining a consistent 20-degree angle and transitioning from coarse grit to fine grit for that cutting-edge finish.
1. Why We Keep Knives Sharp
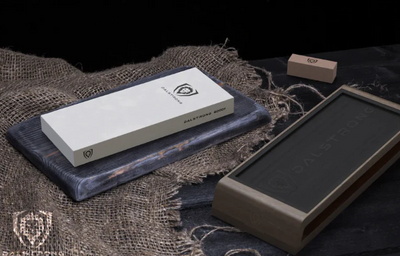
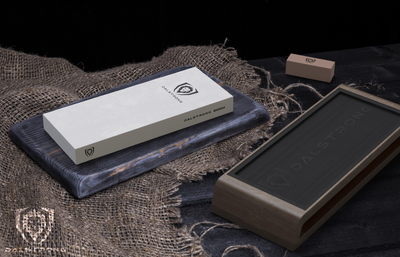
 #1000 / #6000 Grit with Nagura Stone & Rust Eraser
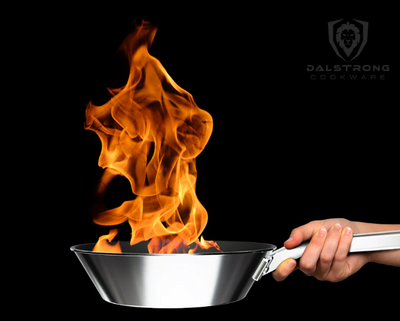
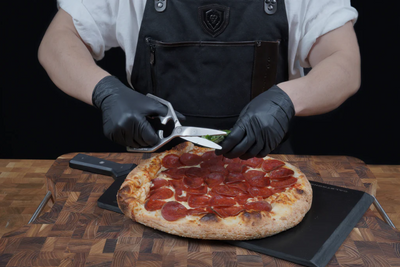
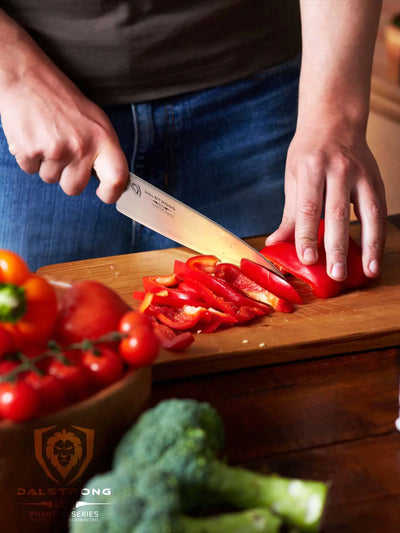
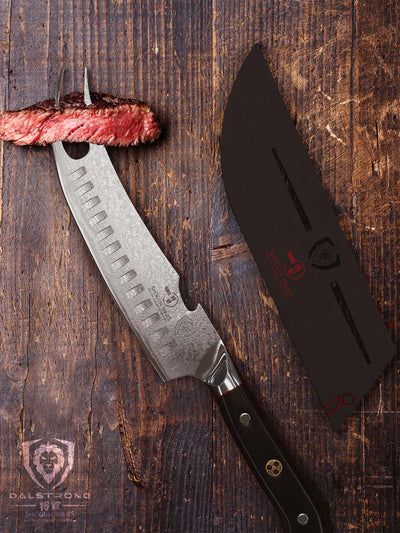
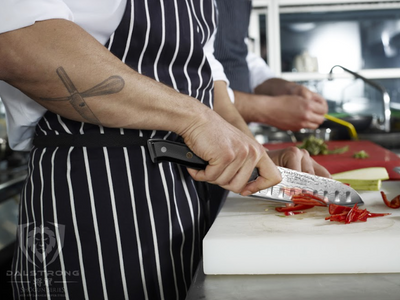
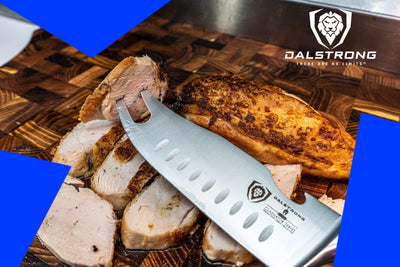
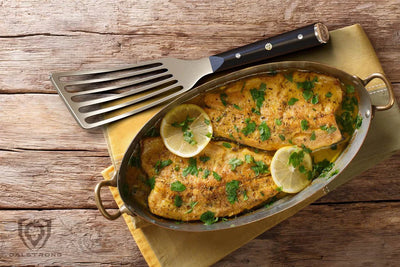
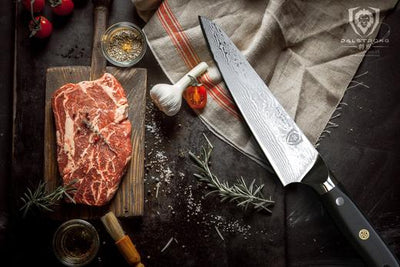
Keeping your knives sharp isn't just a page pulled from a culinary school textbook; it's a game-changer for any home cook. Now, if you think a sharp knife is just for showing off your master chef aspirations, think again! This isn't just about culinary flair or complex cooking techniques. Even the simplest of tasks – like slicing tomatoes or dicing onions – become a breeze when your blade is up to snuff.
Let's talk safety.
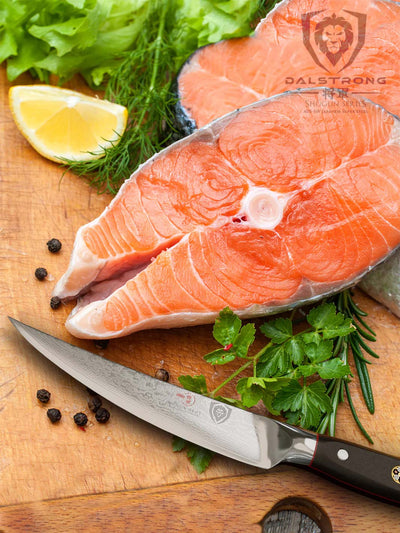
We've all been there, wrestling with a bell pepper or a particularly rebellious potato. You're pushing down, your dull knife slips, and bam! Your heart skips a beat as you narrowly avoid becoming an episode on Kitchen ER. A sharp knife bites the surface easily, reducing slippage and making your cooking escapades a lot less dangerous.
Let's talk about the longevity of your knife sets.
You've invested good money in those chef's knives, paring knives, and even steak knives, so it makes financial sense to keep them in tip-top condition. A well-maintained knife can last years, perhaps even decades, saving you money in the long run. It's like a car: you wouldn't drive around with a failing engine, so why cook with a dulled blade?
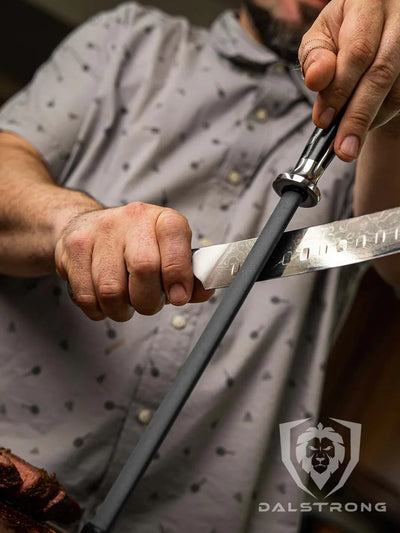
How about a honing rod?
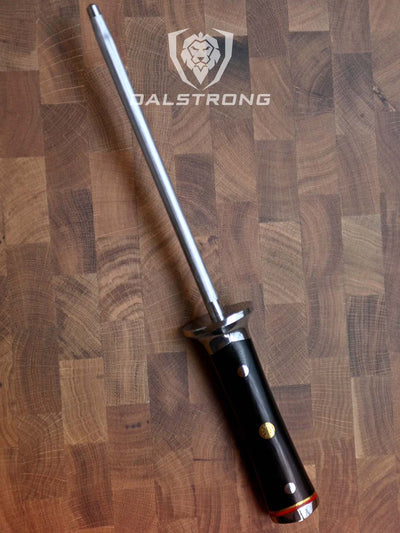
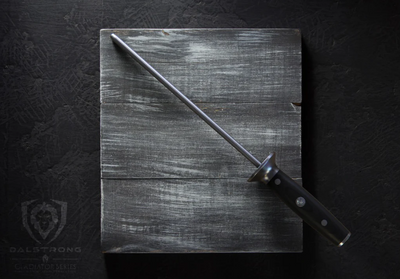
To put a cherry on top, or should I say, a finely-minced garnish, let’s talk about a steel's rod. This handy tool often comes with your knife sets and serves as your go-to for quick honing sessions between major sharpenings. It's like the lip balm of the knife world, a quick pick-me-up when you need a touch of sharpness.
So the next time you find yourself struggling with a bell pepper, or worse, contemplating using scissors for your meat (please don't), remember that a sharp knife isn't just a luxury—it's a kitchen essential.
2. Sharpening Vs Honing
Let's clear up a common kitchen myth right now: sharpening and honing are not the same thing. They're more like the Batman and Robin of kitchen tips, each doing their own thing but better together. If you've been using these terms interchangeably, don't sweat it. You're here to learn, and I've got some chef-level wisdom to drop.
First up, sharpening.
Imagine your knife as a pencil. When the tip breaks off, do you toss it in the trash? No, you sharpen it to create a new tip. The same principle applies to knives. Over time, the blade's edge wears down. You could deal with a dull blade, but why would you when you can sharpen it instead? This is where the magic of sharpening stones and electric sharpeners comes into play. Whether you're using manual or electric, coarse grit or fine grit, sharpening removes material from the blade to form a new, keen edge.
Then there's honing.
Picture this: your knife blade is a series of microscopic teeth. With use, those teeth can get out of alignment. Now, if your teeth were crooked, you'd see an orthodontist, right? For your knives, the honing steel is the orthodontist, realigning those microscopic teeth and restoring the "straightness" of the cutting edge. When you hone the edge, you're not removing material; you're simply putting everything back in its place, right along the edge of the blade.
So when should you sharpen and when should you hone? As a general guideline, hone your knife regularly—think before or after each use, especially if you’re doing a lot of cutting. This will maintain a decently sharp knife. Sharpening is more like a deep clean, maybe needed every few months depending on your usage.
Don’t underestimate the power of these two techniques. Keeping your knife both sharpened and honed is the secret sauce for maintaining a sharp, ready-to-go knife for all your culinary adventures. So whether you're cutting into a juicy steak or thinly slicing vegetables for a homemade stir-fry, you'll know your blade is in its prime.
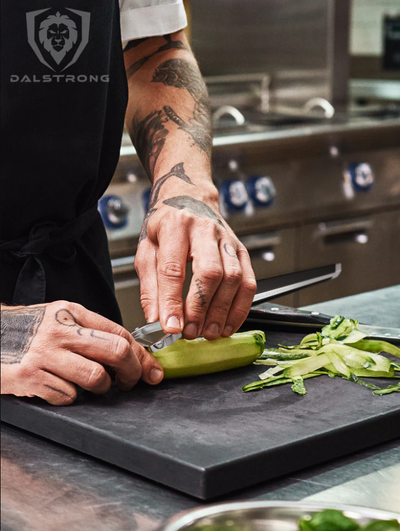
3. Types of Knife Sharpeners
 #1000 / #6000 Grit Combo with Oak Storage Box
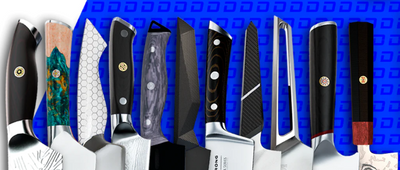
When it comes to sharpening your knives, variety isn't just the spice of life; it's the backbone. There are multiple routes to the promised land of sharp knives, and the type of sharpener you choose can be as personal as your playlist for cooking pasta from scratch.
Manual sharpeners
Ah, the classic manual sharpeners—the kind your grandma might still have tucked away in a kitchen drawer. It's easy to write these off as outdated, but you might be surprised at just how effective they can be. These pocket-sized wonders are perfect for taking on camping trips, using in a small kitchen, or stowing away in an RV. They're generally quite affordable, so they won't break the bank, either.
A typical manual sharpener features multiple slots, usually for coarse and fine sharpening. The coarse slot helps grind down and shape a dull or nicked blade, while the fine slot hones it to a keen edge. All it takes is a few quick pulls of the knife through each slot, and voilà! Your blade is back in action. While they might not offer the pinpoint precision of more elaborate setups, for the average home cook, manual sharpeners often get the job done just fine.
Electric sharpeners
Enter the electric sharpener, the high-tech counterpart to its manual sibling. Think of these as the luxury sports cars of the knife sharpening world—fast, efficient, and a little bit showy. They're the go-to option for those who either lack the confidence to sharpen knives manually or are just short on time and want the quickest route to a razor-sharp blade.
Using an electric sharpener couldn't be simpler. Just plug it in, insert your knife into the designated slot, and let the machine work its magic. High-quality electric sharpeners often feature multiple stages, ranging from grinding to honing and sometimes even polishing. They're particularly useful for those who own a variety of knives, as they can adapt to different blade angles and styles with ease. Of course, all this convenience and sophistication come at a price; electric sharpeners tend to be more expensive than manual ones.
Sharpening stones
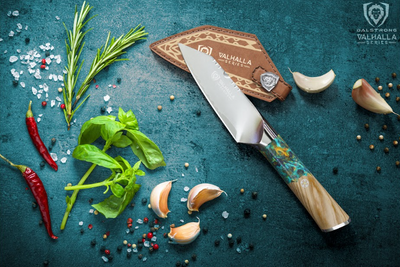
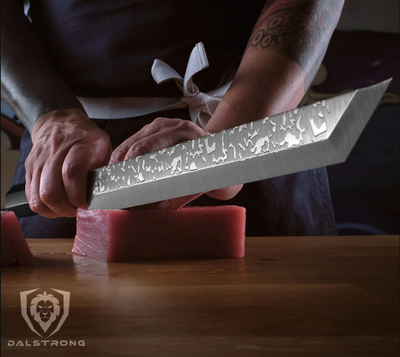
Next in the spotlight are sharpening stones. Also known as whetstones, these are the go-to for anyone who treats knife sharpening like a sacred ritual. Stones come in different levels of grit, from coarse grit for major sharpening to fine grit for finishing touches. You'll want to keep that stone wet, and hold the blade at the appropriate angle—usually a 20-degree angle for Western knives and a 15-degree angle for Asian-style knives.
Talking about those Asian-style knives. These aren't just for sushi chefs and culinary trendsetters. Asian knives typically require a different kind of TLC. Their blade angles are often around 15 degrees, as opposed to the 20-degree angle of most Western knives. That means you'll need a sharpener that can accommodate this unique angle. Some specialized electric and manual sharpeners are made just for this purpose.
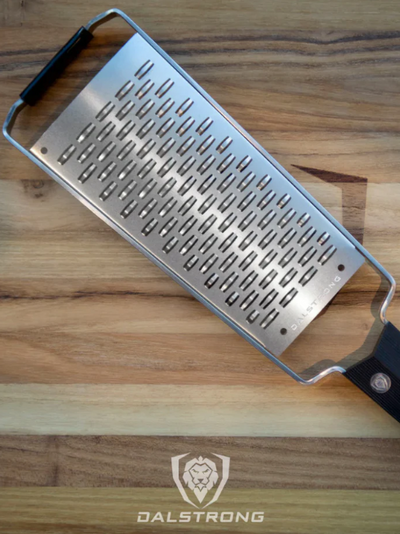
Honing steels
While they aren’t technically “sharpeners,” they’re crucial for daily maintenance. They realign the edge of your knife blade, making them a perfect companion in between your more serious sharpening sessions.
So, there you have it. Whether you're a manual purist, an electric enthusiast, or a stone guru, you've got options. The key takeaway? Pick the one that works for you, and you'll never have to blame your cooking on a dull knife again.
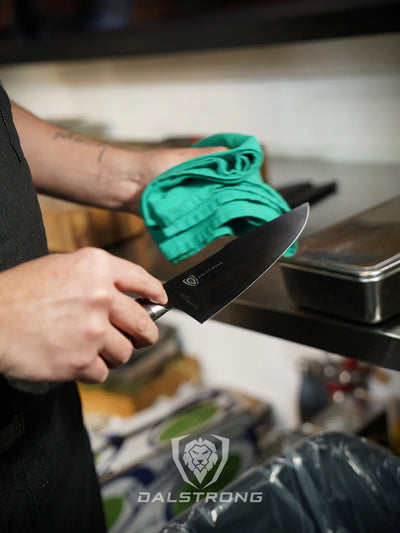
4. How to Sharpen A Kitchen Knife
 #3000 / #8000 GritPremium Whetstone Set | Dalstrong
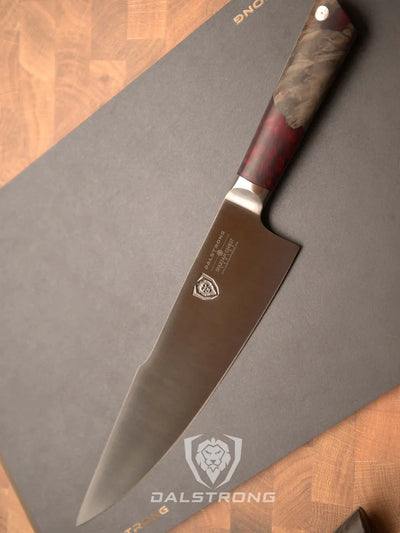
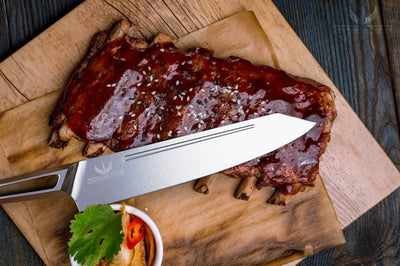
Sharpening a kitchen knife is not some arcane art that only the culinary wizards among us can master. Trust me, with a little know-how, you can transform your knife from a butter spreader back to a lean, mean, vegetable-slicing machine. So, grab your dull knife, and let's turn you into the swordsmith of your kitchen.
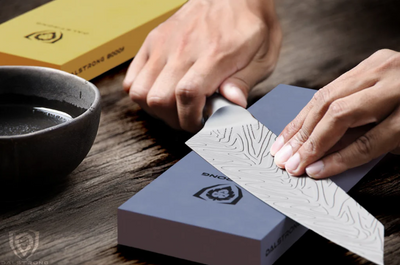
First things first, let's set the stage
Secure your sharpening stone on a flat surface. This could be your countertop, but please, for the love of all things sharp, lay down a towel or something similar to prevent any slippage. Safety first, my friends.
Prepare the stone
If you're using a water stone, which I highly recommend for home cooks (see a great list of options below), get it wet. A wet stone reduces friction, making the sharpening process smoother than a jazz saxophone solo. If you've opted for an oil stone, make sure you follow the manufacturer's instructions. Keeping the stone wet is essential because it keeps those knife blades from overheating and losing their temper – literally, the metal's temper.
Sharpen away
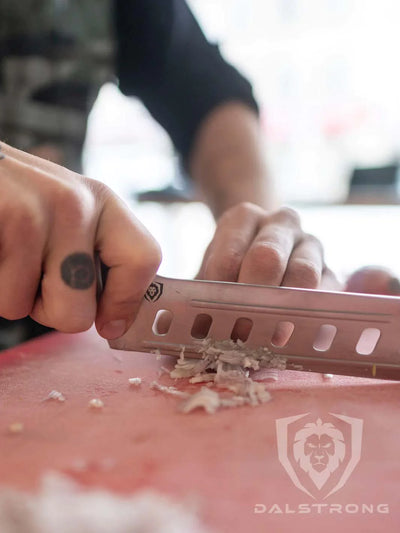
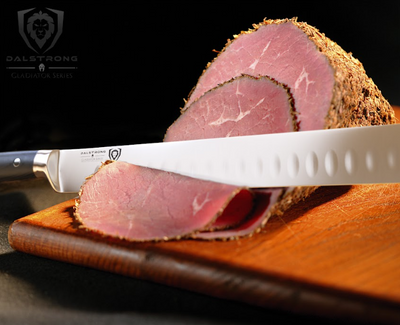
Grab your knife by the handle and hold the blade at a 20-degree angle against the coarse side of the stone. If you're using Asian-style knives, adjust to a 15-degree angle. Start with the tip of the knife and work your way down to the base of the blade. Slide the blade across the stone while pulling the knife towards you, as if you're trying to slice off a super-thin piece of the stone. Maintain consistent pressure throughout the stroke to ensure even sharpening.
Once you've passed your knife over the coarse grit a few times, it's time to move on to the fine grit side of the stone. Repeat the same process, but this time you're honing the edge, refining it into that razor-sharp tip that would make any chef proud.
Finish off the blade
After your blade is sharp enough to split hairs – or at least tomatoes – give it a good clean to remove any tiny metal filings. I like to use the steel's rod for this because it further hones the edge and removes any lingering particles.
Finally, sheath that beauty back in its knife block, or hang it on a magnetic strip if you're feeling fancy. Either way, the next time you're confronted with a tough steak or a robust butternut squash, you won't hesitate. You'll reach for that knife and cut through any culinary challenge like a hot blade through butter.
There you have it. That's how you go from a dull knife to the proud owner of a sharp kitchen tool that's ready for anything.
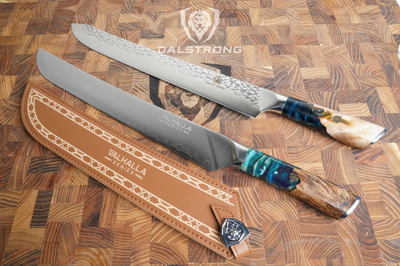
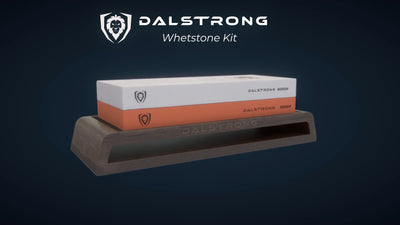
5. Recommended Dalstrong Whetstones
When it comes to knife maintenance, not just any whetstone will do. The quality, durability, and efficiency of your whetstone can dramatically impact your knife's performance. That's why we recommend Dalstrong Whetstones for those who take their knife care seriously. Offering a variety of grit combinations, these sets are as beautiful as they are functional.
Below are our top picks for Dalstrong Whetstones, each catering to different wants and skill levels.
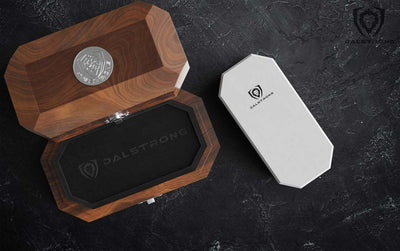
1. #1000 / #6000 Grit Combo with Oak Storage Box Portable Whetstone Kit | Dalstrong

Perfect for travelers or those with limited kitchen space, this whetstone kit balances both looks and utility. Keep your blades in pristine condition while also adding a touch of elegance to your sharpening routine.
PROS:
- Double-sided Corundum stone offers versatile sharpening.
- Comes in a refined oak wood box, making it a handsome addition to any kitchen.
- The #1000 grit side is ideal for initial sharpening, while the #6000 grit side is for fine finishing touches.
- Friendly for both beginners and seasoned knife sharpeners.
CONS:
- The oak box is somewhat bulky, which does hinder its portability.
- This is a very similar kit to the one below, minus the Nagura stone.
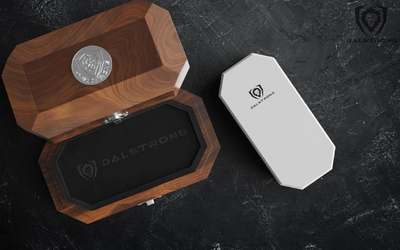
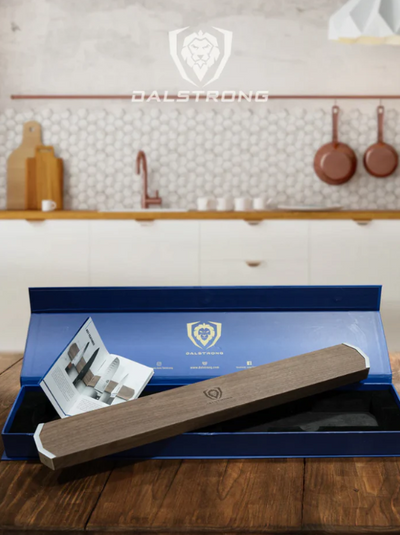
2. #1000 / #6000 Grit with Nagura Stone & Rust Eraser

For those who demand a little extra from their sharpening kit, this premium package is a great value. With the addition of a Nagura stone, it offers more than just basic sharpening.
PROS:
- Features a Nagura stone, ideal for conditioning your sharpening and finishing stones.
- Crafted from durable, high-grade corundum.
- Capable of erasing rust and minor abrasions from high-carbon and stainless steel knives.
- Comes with an elegant acacia wood base, unique to each set.
CONS:
- If the Nagura stone isn't important to you, consider opting for the simpler kit above.
- Might be overwhelming for beginners due to its multiple features and stones.
3. #3000 / #8000 Grit Premium Whetstone Set | Dalstrong

Looking to take your sharpening skills to the next level? This kit is particularly well-suited for those who own high-quality German and Japanese knives.
PROS:
- Optimal for both German and Japanese knife designs.
- The #3000 grit stone can handle dull or damaged blades and bring them back to life.
- Use the #8000 grit for achieving an ultra-sharp and mirror-like edge.
- Stones are larger than average, offering more surface area for efficient sharpening.
CONS:
- For even finer grit needs, you may want to explore other sets.
- Could be considered pricey for those on a tight budget.
4. #400 / #1000 Grit Premium Whetstone Set | Dalstrong

Whether you're just getting into knife maintenance or you're a seasoned pro, this set offers a balanced approach to sharpening.
PROS:
- Outstanding craftsmanship with an attractive design to match.
- The set includes a coarse #400 grit stone for tackling the dullest of blades.
- A medium #1000 grit stone for polishing and refining your knives.
- Compatible with both German and Japanese style knives.
- Makes a superb gift for the knife enthusiast in your life.
CONS:
- The stones are notably wide, a feature that may require some getting used to if you've worked with smaller stones before.
- The set doesn't include a storage case, which may make it less portable for those who like to sharpen on the go.
Whether you're a professional chef or a cooking enthusiast, Dalstrong's range of premium whetstone sets offers something for everyone, ensuring that your blades remain as sharp as the day you bought them.
6. Frequently Asked Questions
What is the best way to sharpen kitchen knives?
The finest way to sharpen kitchen knives is to use a combination of sharpening stones and honing steels. Start with a coarse grit on the sharpening stone to form a new edge, then move to a fine grit to hone the edge. Finally, use a honing steel to realign the edge and remove any burrs.
How can I sharpen my knife at home?
You can effortlessly sharpen your knife at home by using a quality sharpening stone and following the correct techniques for maintaining a consistent angle and pressure. Transition from a coarse grit to a fine grit, and finish with a honing steel for best results.
What are the steps to sharpen the knife?
The steps to sharpen a knife involve securing a sharpening stone on a flat surface, holding the blade at the correct angle, and pulling the knife across the stone in a smooth motion. Start with a coarse grit, move to a fine grit, and finish off by honing the edge with a honing steel.
How often should I sharpen kitchen knives?
The frequency with which you should sharpen your kitchen knives largely depends on how often you use them. A good rule of thumb is to give them a thorough sharpening every 3 to 6 months.
Is honing and sharpening the same thing?
Honing and sharpening are different but complementary processes. Honing involves realigning the edge of your knife blade to restore its straightness, while sharpening involves grinding down the blade to create a new, sharp edge.
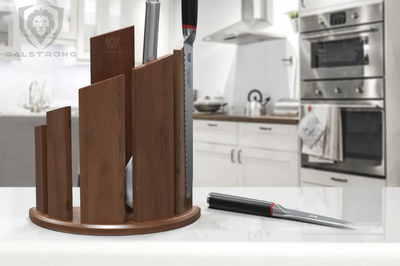
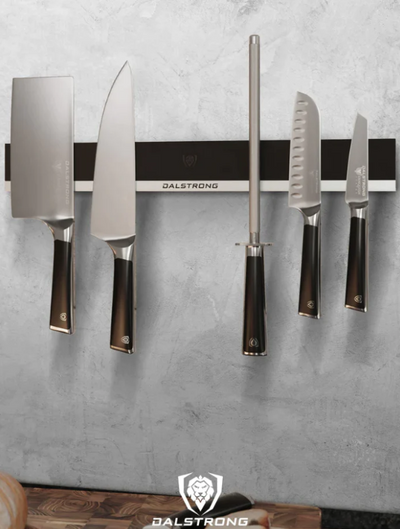
How should I store my knives to keep them sharp?
To keep your knives at their best, it's recommended to store them in knife guards or knife blocks. These storage methods help preserve the sharpness of the blade by preventing it from making contact with hard surfaces that could dull it.